
Sitecore Experience Commerce 9.1 Post Installation Steps for Developers
Akshay Sura - Partner
19 Jul 2019
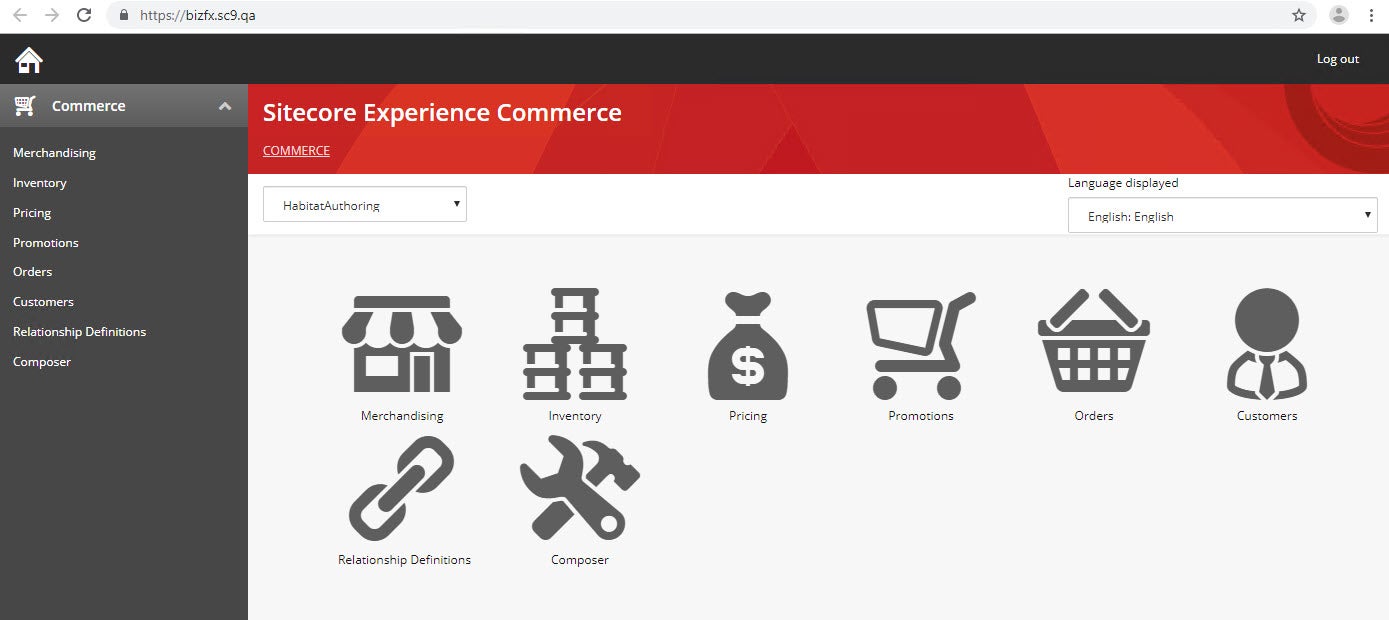
Once you have successfully installed the Sitecore Experience Commerce 9.1, the next step is to setup your local development environment.
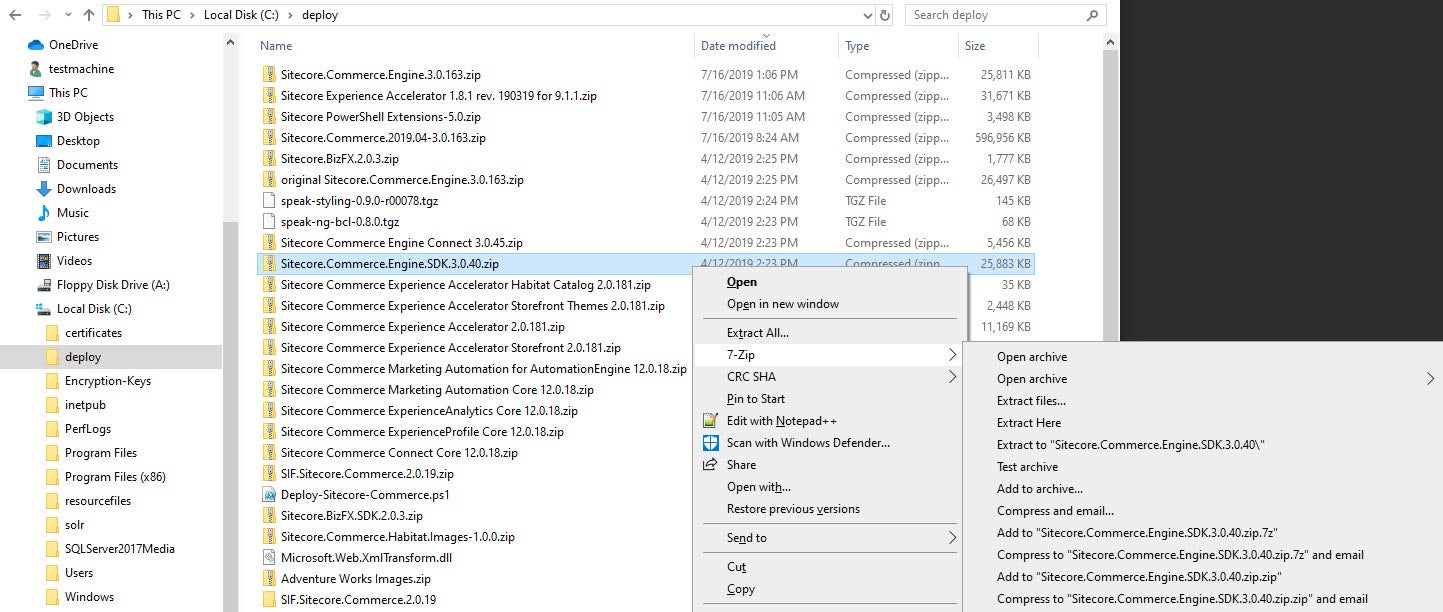
- Assuming that you have Visual Studio installed, the next step is to extract the SDK folder which came with the commerce install files.
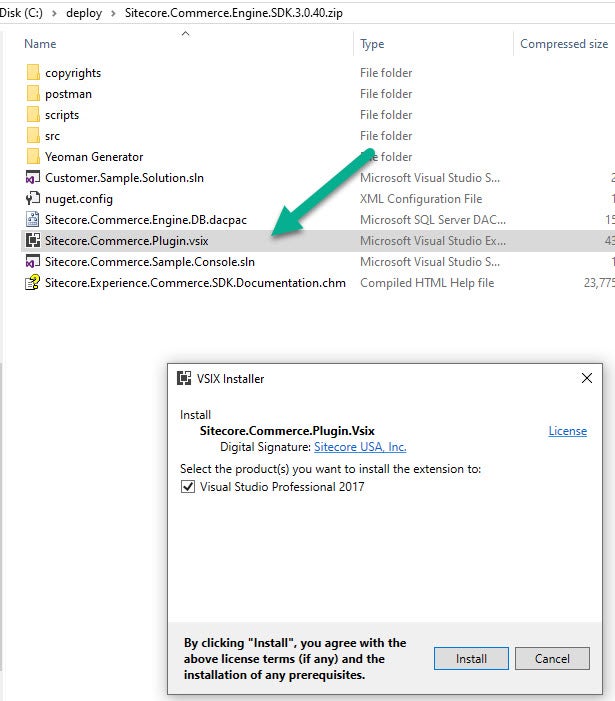
2. Install the Sitecore.Commerce.Plugin.vsix file from the extracted SDK zip file. This Visual Studio extenstion gives you project templates for your Commerce solution.
3. Download and install Postman - https://www.getpostman.com/downloads/.
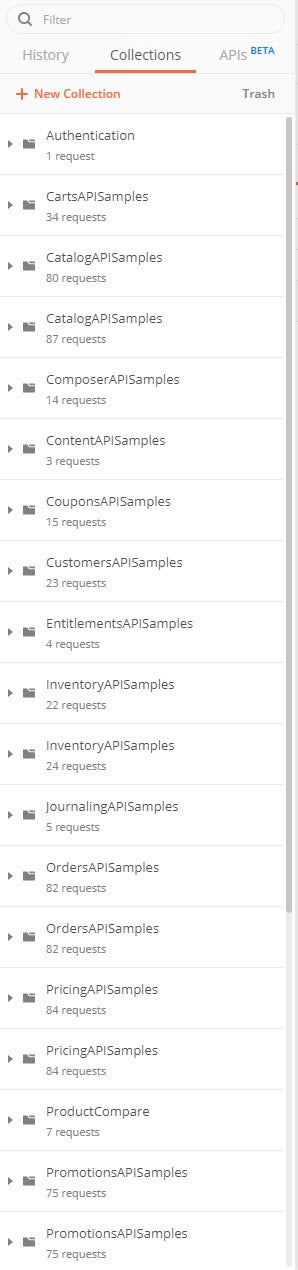
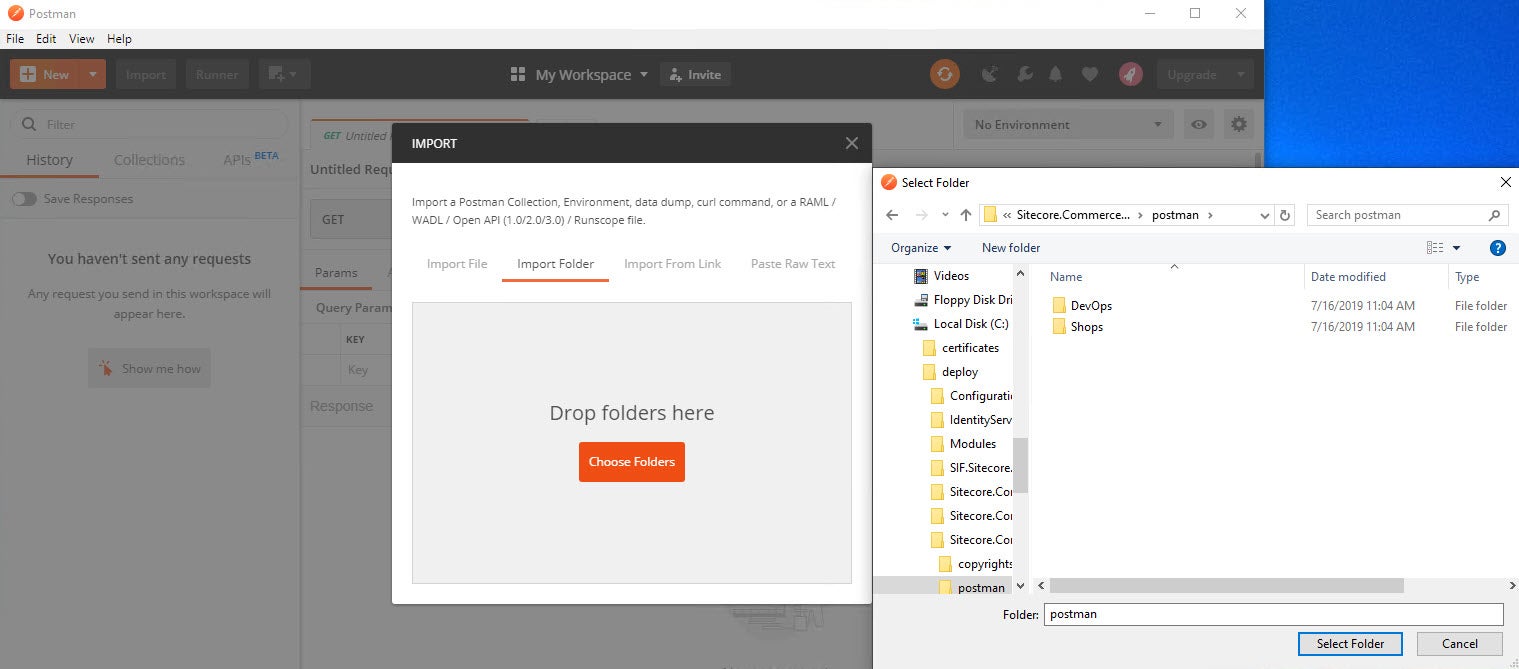
4. Import the default postman scripts provided by the SDK. To do this, open Postman, select Import followed by Import Folder. Here you would specify the path of the SDK Postman folder. (C:\deploy\Sitecore.Commerce.Engine.SDK.3.0.40\postman)
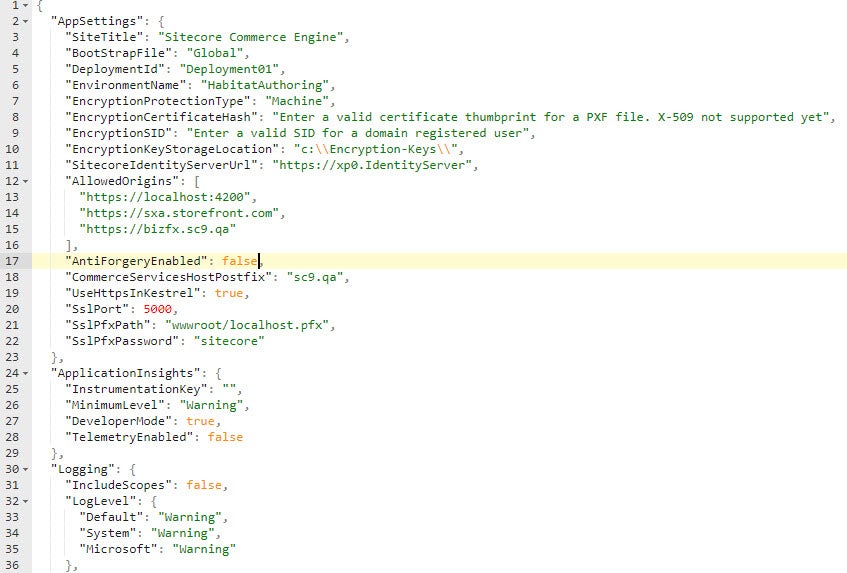
5. Before we can play around in Postman, we need to turn off the AntiForgeryEnabled setting on the Authoring role. This change is only suggested for Development environments. Make sure the AntiForgeryEnabled setting is true in all critical environments, especially Production. Modify the AntiForgeryEnabled setting to false in the C:\inetpub\wwwroot\CommerceAuthoring_Sc9\wwwroot\config.json, and save the file.
6. Turn off the SSL Certificate verfication setting in Postman so that we do not get any exceptions using the self signed certificates locally.
7. Any time you make a config change in your json (file level) you need to run through a process known as Bootstrap in order for this config to be stored in the commerce global database. Since we modified the AntiForgeryEnabled in the config.json, we would need to Bootstrap. To run any commands against the Commerce server from Postman, we would need to authenticate in order to get token. Sitecore uses bearer token authentication for systems calling the Commerce Engine directly, Sitecore uses that token as an authorization bearer in request headers.
8. Copy \tools\VSToolsPath\Web\Microsoft.Web.XmlTransform.dll file from the temporary directory (unzip of msbuild.microsoft.visualstudio.web.targets.14.0.0.3.nupkg.zip) and copy it to the c:\deployfolder.
9. Navigate to C:\deploy\SIF.Sitecore.Commerce.2.0.19 folder. Make a copy of the Deploy-Sitecore-Commerce.ps1 file and rename it specific to your deployment. I named it FirstCommerce-Deploy-Sitecore-Commerce.ps1.
10. Modify your FirstCommerce-Deploy-Sitecore-Commerce.ps1 file with the appropriate values specific to your environment. I would recommend that you replace all Resolve-Path in the ps1 file with local paths. Make sure you use \ or escape \ (c:\deploy = c:\\deploy). Here are my changes: SXAStorefrontModuleFullPath is set as Resolve-Path -Path “..\Sitecore Commerce Experience Accelerator Storefront 1.*.zip” by default but the file name is Sitecore Commerce Experience Accelerator Storefront 2.0.181.zip. Watch ouC:\deploy\SIF.Sitecore.Commerce.2.0.19 t for this especially if you are leaving the Resolve-Path.
11. Extract Sitecore Commerce Experience Accelerator Storefront 2.0.181.zip in to c:\deploy folder, this will create the C:\deploy\Sitecore Commerce Experience Accelerator Storefront 2.0.181 folder.
12. Unzip the package.zip folder in the same folder (C:\deploy\Sitecore Commerce Experience Accelerator Storefront 2.0.181). It might be better to use a tool like WinRar or 7-Zip to unzip package.zip file.
13. Open the xml file C:\deploy\Sitecore Commerce Experience Accelerator Storefront 2.0.181\package\items\master\sitecore\system\Modules\PowerShell\Script Library\CXA - Internal\Web API\CreateDefaultStorefrontTenantAndSite{6FEC77C8-00DC-4B7B-9597-82588616A1F2}\en\1\xml.
14. Find the CreateCXATenant function on line 17. Insert the following Function before line 17 and save the xml file. Before
<item name="CreateDefaultStorefrontTenantAndSite" key="createdefaultstorefronttenantandsite" id="{6FEC77C8-00DC-4B7B-9597-82588616A1F2}" tid="{DD22F1B3-BD87-4DB2-9E7D-F7A496888D43}" mid="{00000000-0000-0000-0000-000000000000}" sortorder="300" language="en" version="1" template="powershell script" parentid="{330C8219-7B1C-455F-9D48-ADF58BEA15B9}" created="20190411T104541Z"><fields><field tfid="{BADD9CF9-53E0-4D0C-BCC0-2D784C282F6A}" key="__updated by" type="Single-Line Text"><content>sitecore\admin</content></field><field tfid="{8CDC337E-A112-42FB-BBB4-4143751E123F}" key="__revision" type="Single-Line Text"><content>0f12c57e-4cd5-4033-814a-6f188621d248</content></field><field tfid="{25BED78C-4957-4165-998A-CA1B52F67497}" key="__created" type="datetime"><content>20171206T090838Z</content></field><field tfid="{D9CF14B1-FA16-4BA6-9288-E8A174D4D522}" key="__updated" type="datetime"><content>20181031T095825Z</content></field><field tfid="{B1A94FF0-6897-47C0-9C51-AA6ACB80B1F0}" key="script" type="Multi-Line Text"><content>Import-Function Validate-PowerShell Test-PowerShell Import-Function New-Tenant Import-Function New-Site Import-Function Get-ValidSiteSetupDefinition $tenantRootPath = "/sitecore/content" $tenantName = "Sitecore" $siteName = "Storefront" $hostName = "sxa.storefront.com" $gridId = "{85E7A149-9009-43D8-96AC-58605ADE7777}& #x22; $wireFrameThemeId = " {3F46272C-F3B8-4913-8C00-3816B436A4D3}" $storefrontBrandedThemeId = " {48FFBFC8-E705-44E1-8ACD-6A714FFD09E3}" $doVerbose = $false Function CreateCXATenant
After
<item name="CreateDefaultStorefrontTenantAndSite& #x22; key="createdefaultstorefronttenantandsite" id="{6FEC77C8-00DC-4B7B-9597-82588616A1F2}" tid=& #x22;{DD22F1B3-BD87-4DB2-9E7D-F7A496888D43}" mid=" {00000000-0000-0000-0000-000000000000}" sortorder=& #x22;300" language="en" version="1& #x22; template="powershell script" parentid=" {330C8219-7B1C-455F-9D48-ADF58BEA15B9}" created=" 20190411T104541Z"><fields><field tfid="{BADD9CF9-53E0-4D0C-BCC0-2D784C282F6A}" key="__updated by" type="Single-Line Text& #x22;><content>sitecore\admin</content& #x3E;</field><field tfid=" {8CDC337E-A112-42FB-BBB4-4143751E123F}" key=" __revision" type="Single-Line Text">& #x3C;content>0f12c57e-4cd5-4033-814a-6f188621d248< /content></field><field tfid=" {25BED78C-4957-4165-998A-CA1B52F67497}" key=" __created" type="datetime">< content>20171206T090838Z</content></ field><field tfid=" {D9CF14B1-FA16-4BA6-9288-E8A174D4D522}" key=" __updated" type="datetime">< content>20181031T095825Z</content></ field><field tfid=" {B1A94FF0-6897-47C0-9C51-AA6ACB80B1F0}" key=" script" type="Multi-Line Text">< content>Import-Function Validate-PowerShell Test-PowerShell Import-Function New-Tenant Import-Function New-Site Import-Function Get-ValidSiteSetupDefinition $tenantRootPath = "/sitecore/content" $tenantName = "Sitecore" $siteName = "Storefront" $hostName = "sxa.storefront.com" $gridId = "{85E7A149-9009-43D8-96AC-58605ADE7777}& #x22; $wireFrameThemeId = " {3F46272C-F3B8-4913-8C00-3816B436A4D3}" $storefrontBrandedThemeId = " {48FFBFC8-E705-44E1-8ACD-6A714FFD09E3}" $doVerbose = $false Function Write-Progress { [CmdletBinding()] param( [Parameter(Mandatory = $false)] $Activity, [Parameter(Mandatory = $false)] $CurrentOperation, [Parameter(Mandatory = $false)] $Status, [Parameter(Mandatory = $false)] $PercentComplete, [Parameter(Mandatory = $false)] [switch]$Completed ) process { # do nothing } } Function CreateCXATenant
16. Create package.zip from the package folder (C:\deploy\Sitecore Commerce Experience Accelerator Storefront 2.0.181\package).
17. Delete the package folder (C:\deploy\Sitecore Commerce Experience Accelerator Storefront 2.0.181\package).
18. Rename Sitecore Commerce Experience Accelerator Storefront 2.0.181.zip to ‘Original Sitecore Commerce Experience Accelerator Storefront 2.0.181.zip’.
19. Package C:\deploy\Sitecore Commerce Experience Accelerator Storefront 2.0.181 folder to Sitecore Commerce Experience Accelerator Storefront 2.0.181.zip.
NOTE: #21, #22, #23 and #24 are for users who have modified their Sitecore 9.1.1 instance password to anything other than b. In my case I opted for a random password be generated as part of the install, so I have no choice but to do the following few steps.
20. Unzip Sitecore.Commerce.Engine.3.0.163.zip, modify Sitecore.Commerce.Engine.3.0.163\wwwroot\bootstrap\Global.json in the zip extracted folder and update your Sitecore admin password. Screenshot shown below:
21. Modify the Sitecore.Commerce.Engine.3.0.163\wwwroot\data\Environments\PlugIn.Content.PolicySet-1.0.0.json in the zip extracted folder and update the Sitecore admin password. Screenshot shown below:
22. Rename the C:\deploy\Sitecore.Commerce.Engine.3.0.163.zip file to C:\deploy\Original - Sitecore.Commerce.Engine.3.0.163.zip
23. Zip up the Sitecore.Commerce.Engine.3.0.163 folder with file modifications to zip file C:\deploy\Sitecore.Commerce.Engine.3.0.163.zip
24. Run the C:\deploy\SIF.Sitecore.Commerce.2.0.19\FirstCommerce-Deploy-Sitecore-Commerce.ps1 script in the PowerShell window (Administrator mode).
25. Take a break or make a friend in the meantime as the script is installing ;).
The install finally finished ;).

Sitecore Experience Commerce 9.1 Post Installation Steps for Developers
My blog post on Quickest way to install Sitecore 9.1.1 on a Developer Workstation.
If you have any questions or concerns, please get in touch with me. ( @akshaysura13 on twitter or on Slack).

Akshay Sura
Akshay is a nine-time Sitecore MVP and a two-time Kontent.ai. In addition to his work as a solution architect, Akshay is also one of the founders of SUGCON North America 2015, SUGCON India 2018 & 2019, Unofficial Sitecore Training, and Sitecore Slack.
Akshay founded and continues to run the Sitecore Hackathon. As one of the founding partners of Konabos Consulting, Akshay will continue to work with clients to lead projects and mentor their existing teams.
Share on social media