
Quickest way to install Sitecore 9.1.1 on a Developer Workstation
Akshay Sura - Partner
14 Jul 2019
Sitecore has made the process of installing Sitecore 9.1.1 much easier than the previous 9 versions. This blog post demonstrates the installation of a Sitecore 9.1.1 instance on a developer workstation. I wanted a single post where I have all the resources I need to install Sitecore 9.1.1 (other than the Sitecore install files download links).
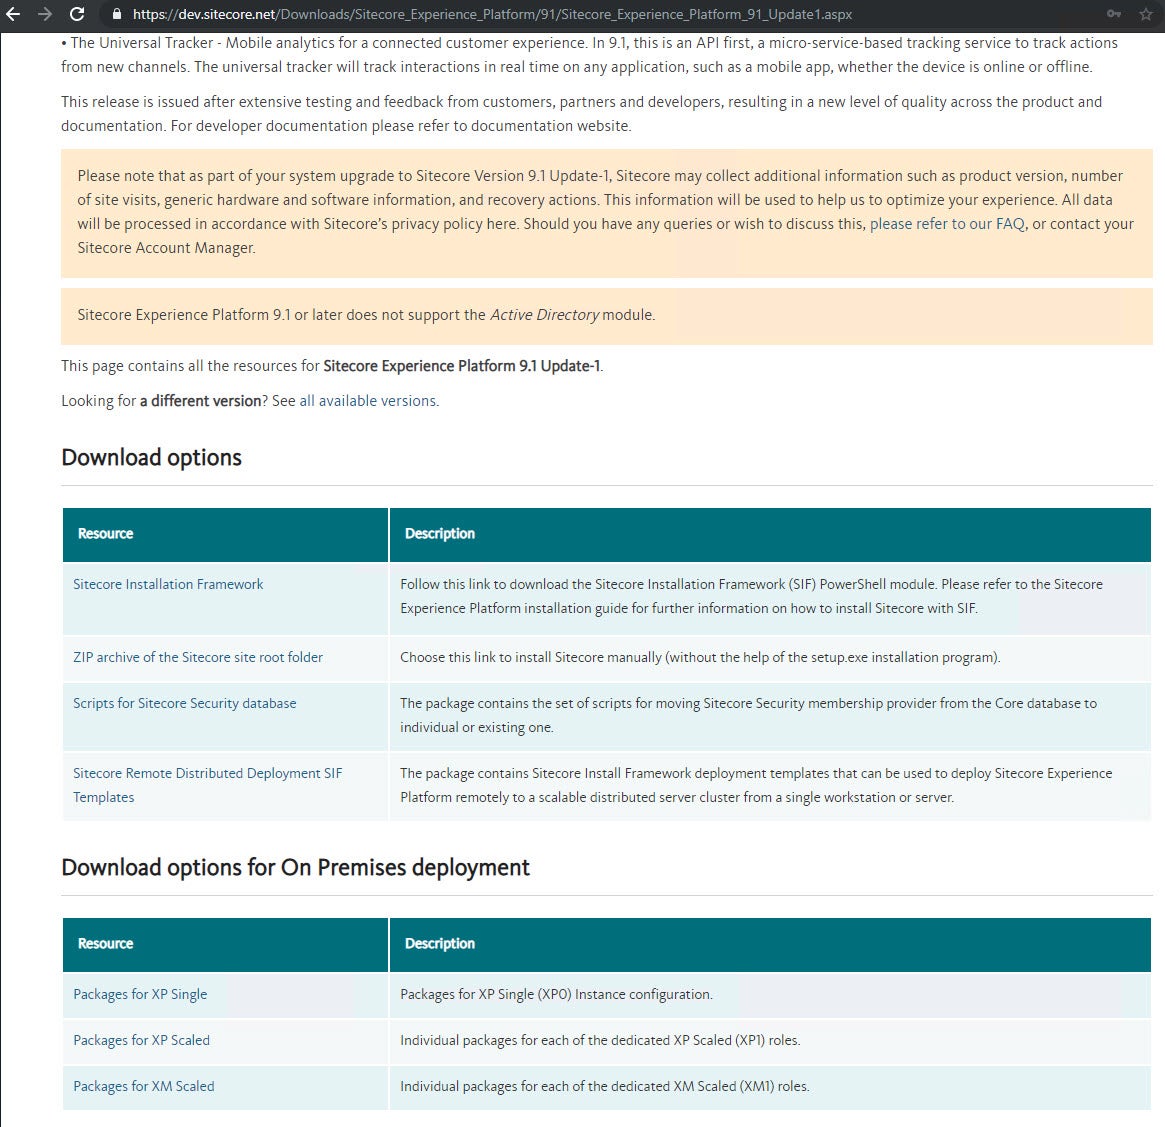
Before we begin, download the Sitecore 9.1 Update 1 On Permises XP Single package and the Quick Install guide using the link below:
Sitecore Experience Platform 9.1 Update-1
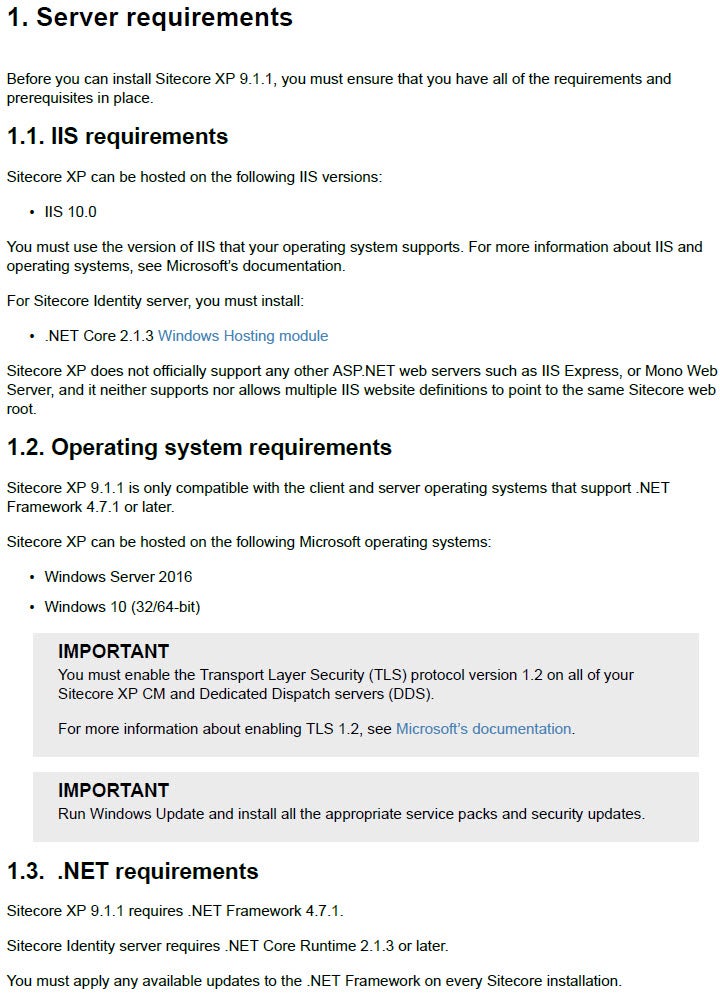
1. I started with a brand new Windows 10 Pro install on a Hyper-V machine. I made sure each time I updated the machine, the windows update was run and was up to date. Check the pre-requisites below given in the install guide.
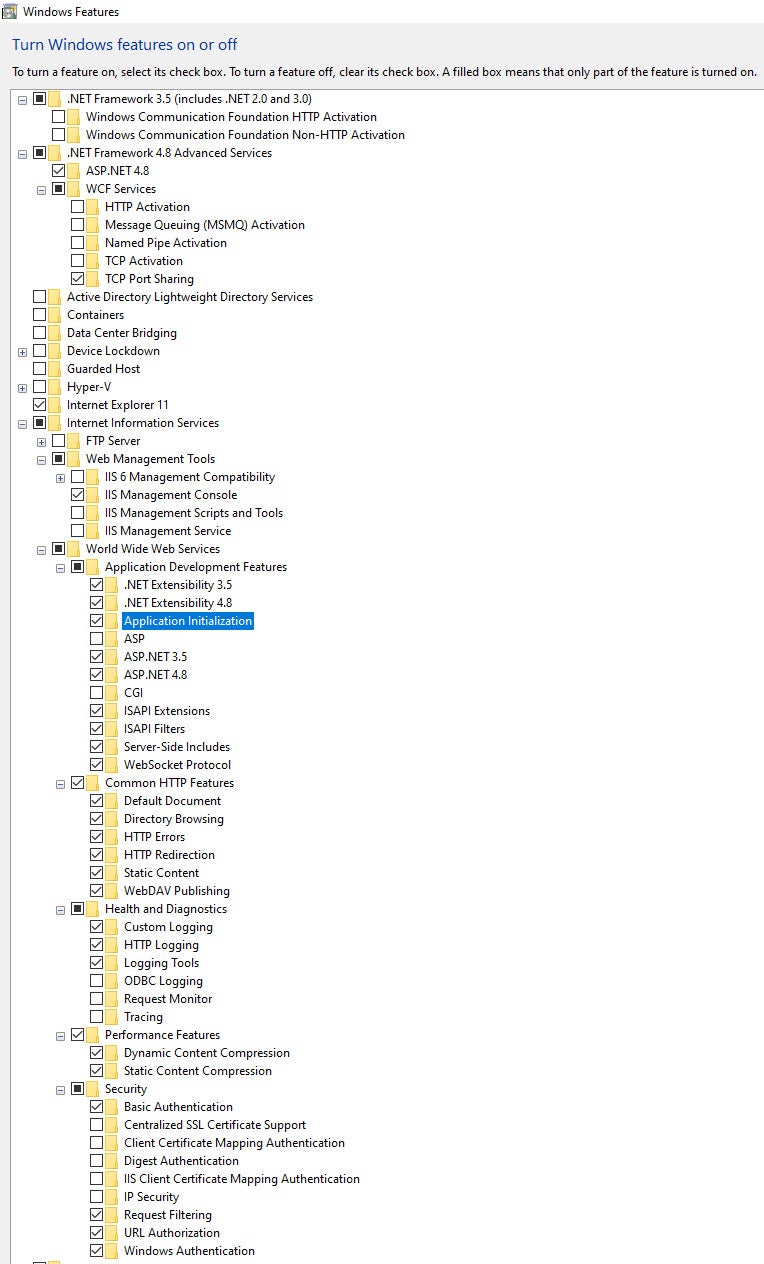
2. After installing and updating Windows 10 Pro, I made sure all the web features were available for hosting ASP.NET sites.
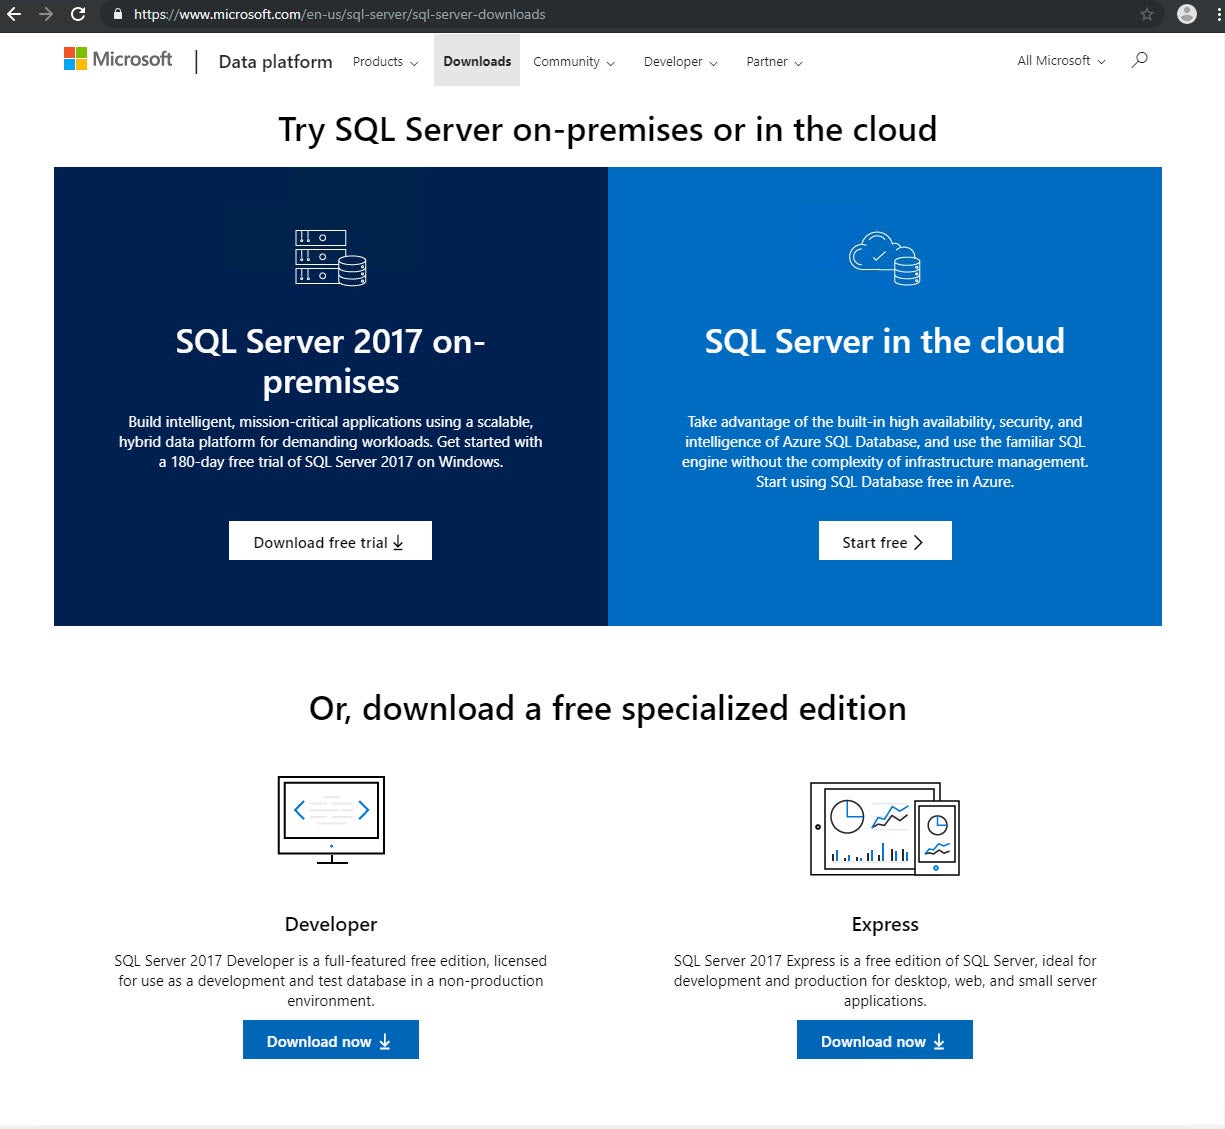
3. Download SQL Server 2017 Developer Edition. (https://www.microsoft.com/en-us/sql-server/sql-server-downloads)
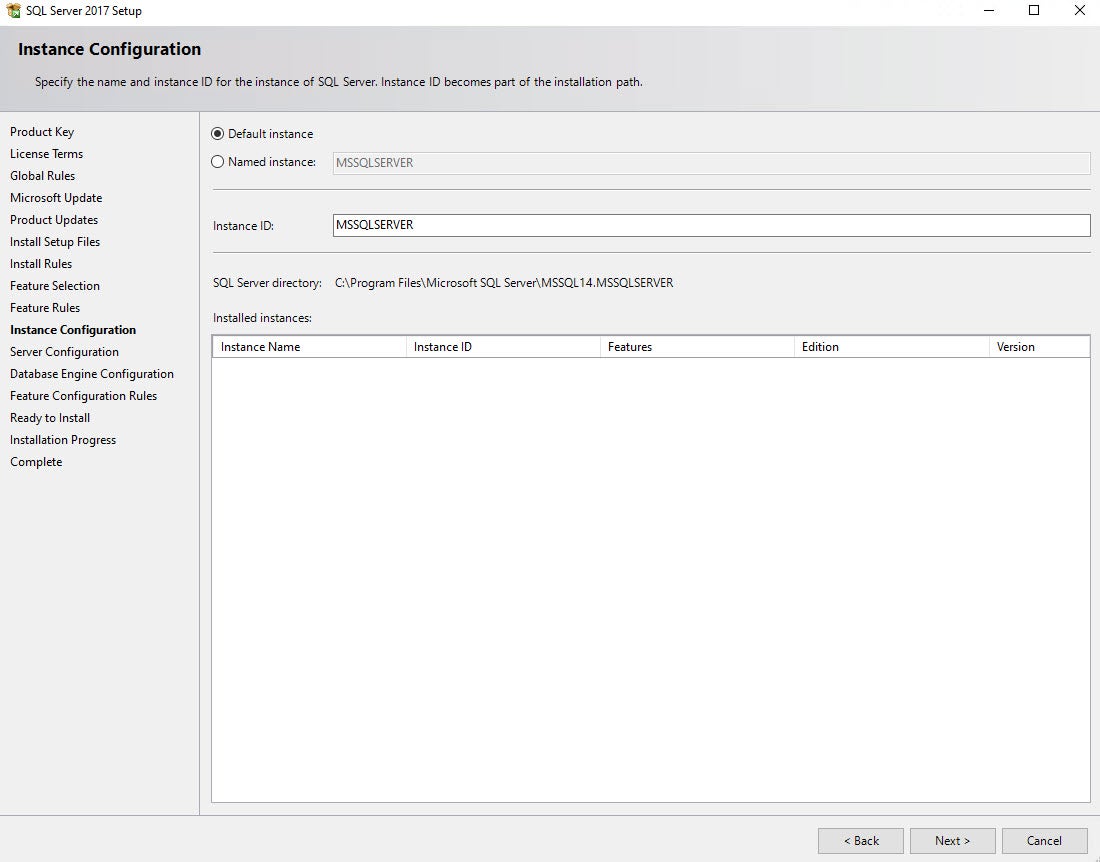
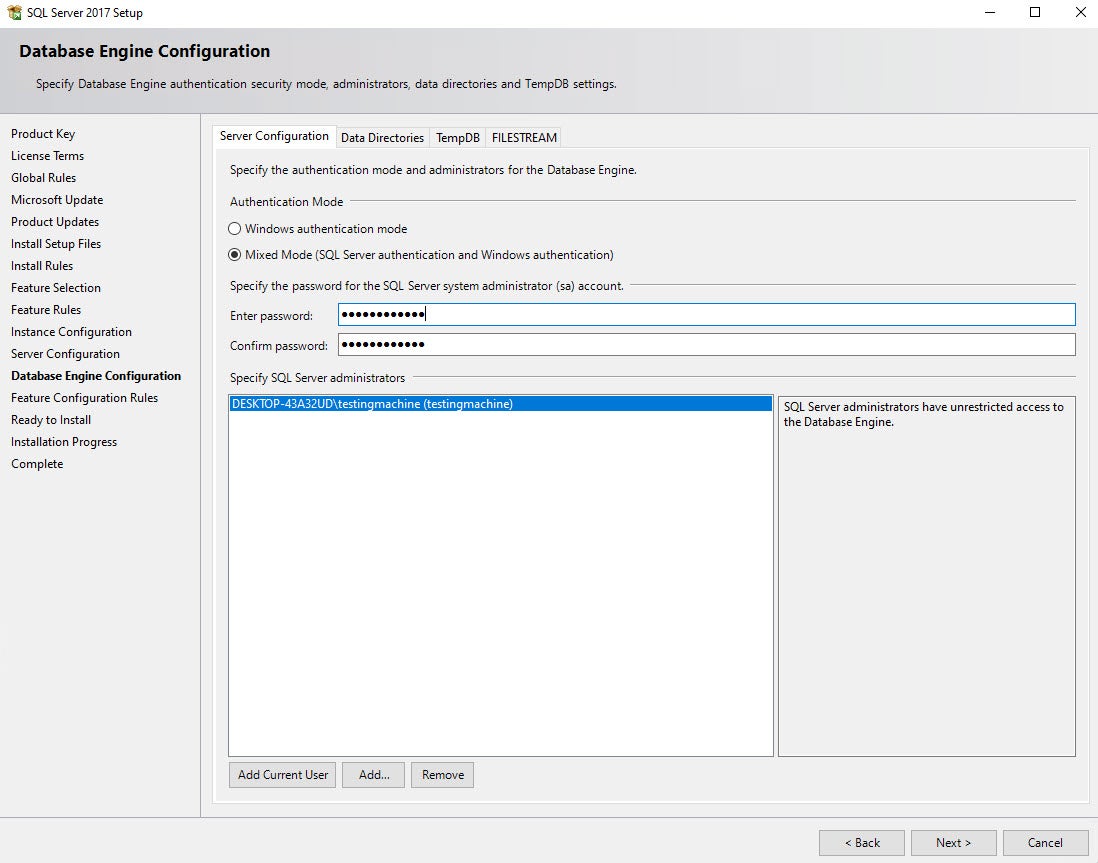
4. Install SQL Server 2017 Developer Edition and Management tools. Make sure you select the Default Instance option and Mixed Mode option.
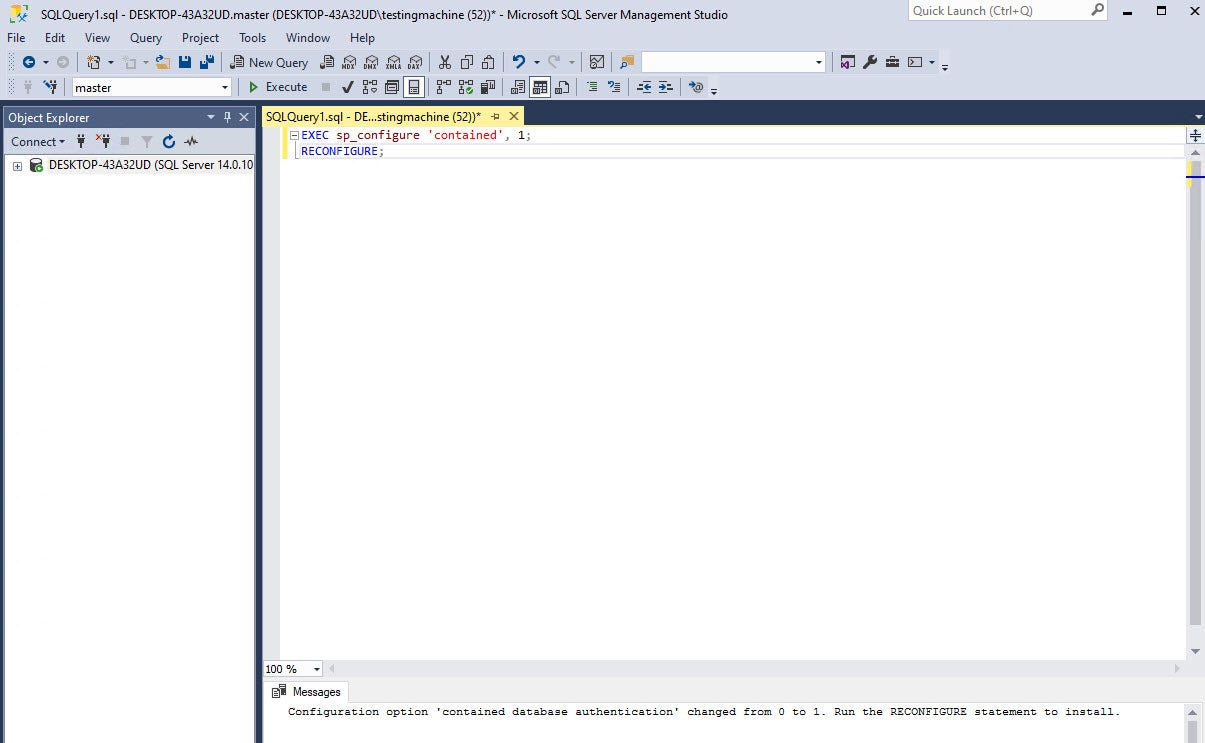
5. Enable Contained Database Authentication on the newly installed SQL Server, by running the following script using the Management tools. ` EXEC sp_configure ‘contained’, 1; RECONFIGURE; `
6. Make sure your PowerShell version is 5.1 or later.

7. In order to make sure all our scripts in the PowerShell window run with proper rights, always make sure you run PowerShell in Administrator mode.
8. To make things much easier I installed Chocolatey using the following command in the PowerShell Window. ` Set-ExecutionPolicy Bypass -Scope Process -Force; iex ((New-Object System.Net.WebClient).DownloadString('https://chocolatey.org/install.ps1')) `
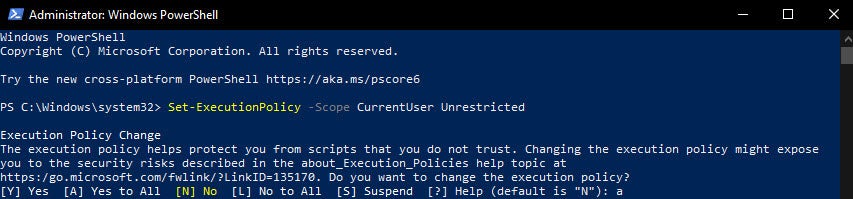
9. Run the following script to give access to the scripts we are about to run. ` Set-ExecutionPolicy -Scope CurrentUser Unrestricted ` Enter A when prompted.
10. Before we install Solr 7.2.1, let's install the Java runtime. Run the following Chocolatey command. ` choco install jre8 jdk8 `

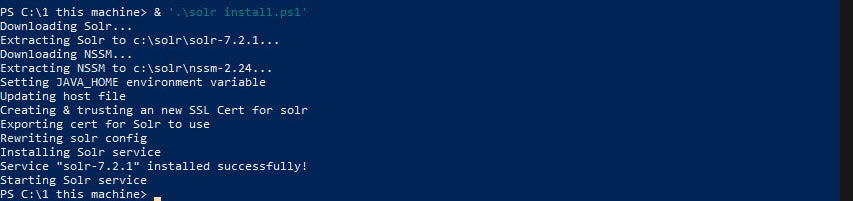
11. Install Solr using Jeremy’s script with modified values for Sole 7.2.1. Save the following in a PowerShell file and run it.
Param( $solrVersion = "7.2.1", $installFolder = "c:\solr", $solrPort = "8983", $solrHost = "solr", $solrSSL = $true, $nssmVersion = "2.24", $JREVersion = "1.8.0_211" ) $JREPath = "C:\Program Files\Java\jre$JREVersion" ## Note that if you're running 32bit java, you will need to change this path $solrName = "solr-$solrVersion" $solrRoot = "$installFolder\$solrName" $nssmRoot = "$installFolder\nssm-$nssmVersion" $solrPackage = "https://archive.apache.org/dist/lucene/solr/$solrVersion/$solrName.zip" $nssmPackage = "https://nssm.cc/release/nssm-$nssmVersion.zip" $downloadFolder = "~\Downloads" ## Verify elevated## https://superuser.com/questions/749243/detect-if-powershell-is-running-as-administrator $elevated = [bool](([System.Security.Principal.WindowsIdentity]::GetCurrent()).groups -match "S-1-5-32-544") if($elevated -eq $false) { throw "In order to install services, please run this script elevated." } function downloadAndUnzipIfRequired { Param( [string]$toolName, [string]$toolFolder, [string]$toolZip, [string]$toolSourceFile, [string]$installRoot ) if(!(Test-Path -Path $toolFolder)) { if(!(Test-Path -Path $toolZip)) { Write-Host "Downloading $toolName..." Start-BitsTransfer -Source $toolSourceFile -Destination $toolZip } Write-Host "Extracting $toolName to >$toolFolder..." Expand-Archive $toolZip -DestinationPath $installRoot } } # download & extract the solr archive to the right folder $solrZip = "$downloadFolder\$solrName.zip" downloadAndUnzipIfRequired "Solr" $solrRoot $solrZip $solrPackage $installFolder # download & extract the nssm archive to the right folder $nssmZip = "$downloadFolder\nssm-$nssmVersion.zip" downloadAndUnzipIfRequired "NSSM" $nssmRoot $nssmZip $nssmPackage $installFolder # Ensure Java environment variable $jreVal = [Environment]::GetEnvironmentVariable("JAVA_HOME", [EnvironmentVariableTarget]::Machine) if($jreVal -ne $JREPath) { Write-Host "Setting JAVA_HOME environment variable" [Environment]::SetEnvironmentVariable("JAVA_HOME", $JREPath, [EnvironmentVariableTarget]::Machine) } # if we're using HTTPif($solrSSL -eq $false) { # Update solr cfg to use right host name if(!(Test-Path -Path "$solrRoot\bin\solr.in.cmd.old")) { Write-Host "Rewriting solr config" $cfg = Get-Content "$solrRoot\bin\solr.in.cmd" Rename-Item "$solrRoot\bin\solr.in.cmd" "$solrRoot\bin\solr.in.cmd.old" $newCfg = $newCfg | % { $_ -replace "REM set SOLR_HOST=192.168.1.1", "set SOLR_HOST=$solrHost" } $newCfg | Set-Content "$solrRoot\bin\solr.in.cmd" } } # Ensure the solr host name is in your hosts fileif($solrHost -ne "localhost") { $hostFileName = "c:\\windows\system32\drivers\etc\hosts" $hostFile = [System.Io.File]::ReadAllText($hostFileName) if(!($hostFile -like "*$solrHost*")) { Write-Host "Updating host file" "`r`n127.0.0.1`t$solrHost" | Add-Content $hostFileName } } # if we're using HTTPSif($solrSSL -eq $true) { # Generate SSL cert $existingCert = Get-ChildItem Cert:\LocalMachine\Root | where FriendlyName -eq "$solrName" if(!($existingCert)) { Write-Host "Creating & trusting an new SSL Cert for $solrHost" # Generate a cert # https://docs.microsoft.com/en-us/powershell/module/pkiclient/new-selfsignedcertificate?view=win10-ps $cert = New-SelfSignedCertificate -FriendlyName "$solrName" -DnsName "$solrHost" -CertStoreLocation "cert:\LocalMachine" -NotAfter (Get-Date).AddYears(10) # Trust the cert # https://stackoverflow.com/questions/8815145/how-to-trust-a-certificate-in-windows-powershell $store = New-Object System.Security.Cryptography.X509Certificates.X509Store "Root","LocalMachine" $store.Open("ReadWrite") $store.Add($cert) $store.Close() # remove the untrusted copy of the cert $cert | Remove-Item } # export the cert to pfx using solr's default password if(!(Test-Path -Path "$solrRoot\server\etc\solr-ssl.keystore.pfx")) { Write-Host "Exporting cert for Solr to use" $cert = Get-ChildItem Cert:\LocalMachine\Root | where FriendlyName -eq "$solrName" $certStore = "$solrRoot\server\etc\solr-ssl.keystore.pfx" $certPwd = ConvertTo-SecureString -String "secret" -Force -AsPlainText $cert | Export-PfxCertificate -FilePath $certStore -Password $certpwd | Out-Null } # Update solr cfg to use keystore & right host name if(!(Test-Path -Path "$solrRoot\bin\solr.in.cmd.old")) { Write-Host "Rewriting solr config" $cfg = Get-Content "$solrRoot\bin\solr.in.cmd" Rename-Item "$solrRoot\bin\solr.in.cmd" "$solrRoot\bin\solr.in.cmd.old" $newCfg = $cfg | % { $_ -replace "REM set SOLR_SSL_KEY_STORE=etc/solr-ssl.keystore.jks", "set SOLR_SSL_KEY_STORE=$certStore" } $newCfg = $newCfg | % { $_ -replace "REM set SOLR_SSL_KEY_STORE_PASSWORD=secret", "set SOLR_SSL_KEY_STORE_PASSWORD=secret" } $newCfg = $newCfg | % { $_ -replace "REM set SOLR_SSL_TRUST_STORE=etc/solr-ssl.keystore.jks", "set SOLR_SSL_TRUST_STORE=$certStore" } $newCfg = $newCfg | % { $_ -replace "REM set SOLR_SSL_TRUST_STORE_PASSWORD=secret", "set SOLR_SSL_TRUST_STORE_PASSWORD=secret" } $newCfg = $newCfg | % { $_ -replace "REM set SOLR_HOST=192.168.1.1", "set SOLR_HOST=$solrHost" } $newCfg | Set-Content "$solrRoot\bin\solr.in.cmd" } } # install the service & runs $svc = Get-Service "$solrName" -ErrorAction SilentlyContinue if(!($svc)) { Write-Host "Installing Solr service" &"$installFolder\nssm-$nssmVersion\win64\nssm.exe" install "$solrName" "$solrRoot\bin\solr.cmd" "-f" "-p $solrPort" $svc = Get-Service "$solrName" -ErrorAction SilentlyContinue } if($svc.Status -ne "Running") { Write-Host "Starting Solr service" Start-Service "$solrName" } # finally prove it's all working $protocol = "http"if($solrSSL -eq $true) { $protocol = "https" } Invoke-Expression "start $($protocol)://$($solrHost):$solrPort/solr/#/"
12. Sitecore 9.1.1 requires SIF (Sitecore Install Framework) 2.1.0 or later. Install and verify SIF using the scripts below: Register-PSRepository -Name SitecoreGallery -SourceLocation https://sitecore.myget.org/F/sc-powershell/api/v2 Install-Module SitecoreInstallFramework Get-Module SitecoreInstallFramework -ListAvailable
13. Create a folder on the C drive called resource files. Extract the downloaded Sitecore 9.1 Update 1 zip file (Sitecore 9.1.1 rev. 002459 (WDP XP0 packages).zip) in the resource files folder.
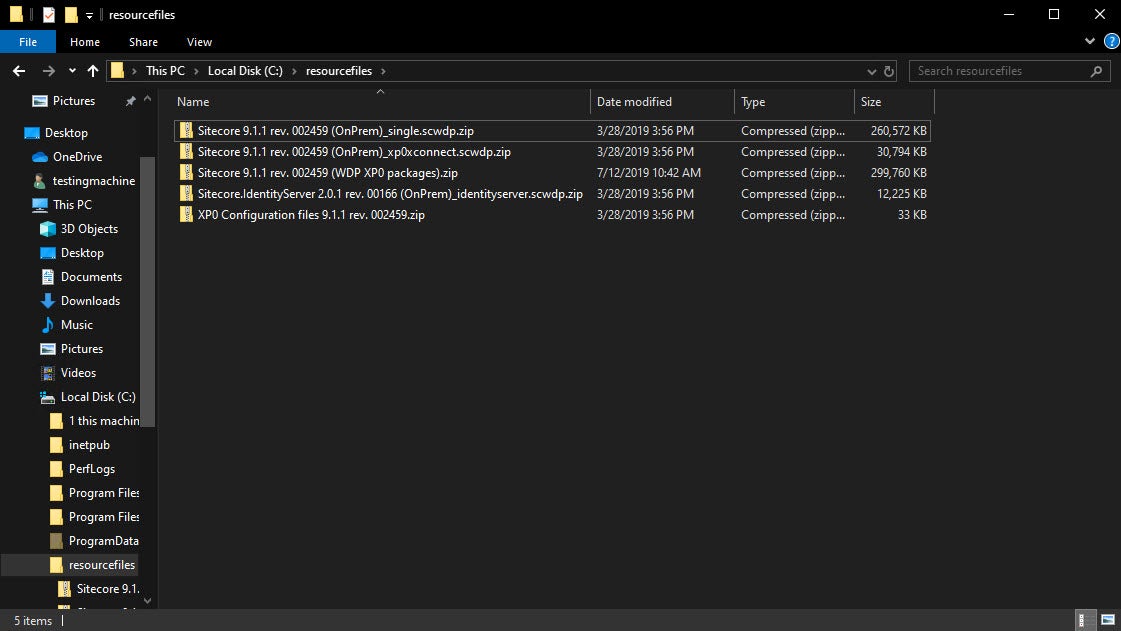
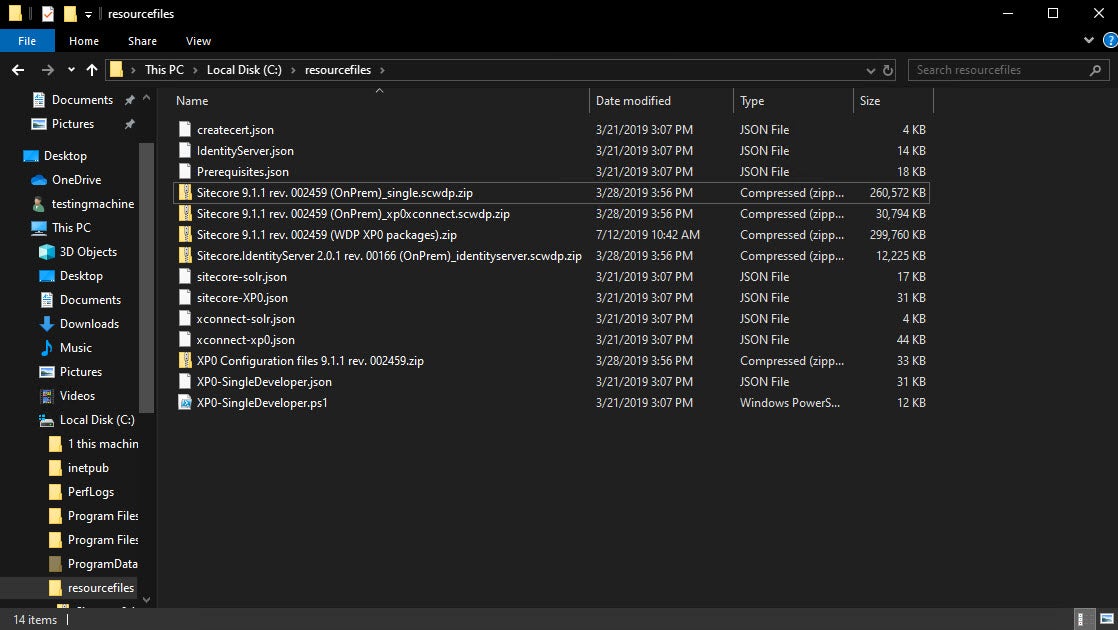
14. Extract the XP0 Configuration files 9.1.1 rev. 002459.zip directly into the c:\resourcefiles folder.
15. Run the Prerequisites script in the PowerShell window (Administrator mode): ` Install-SitecoreConfiguration -Path .\Prerequisites.json `
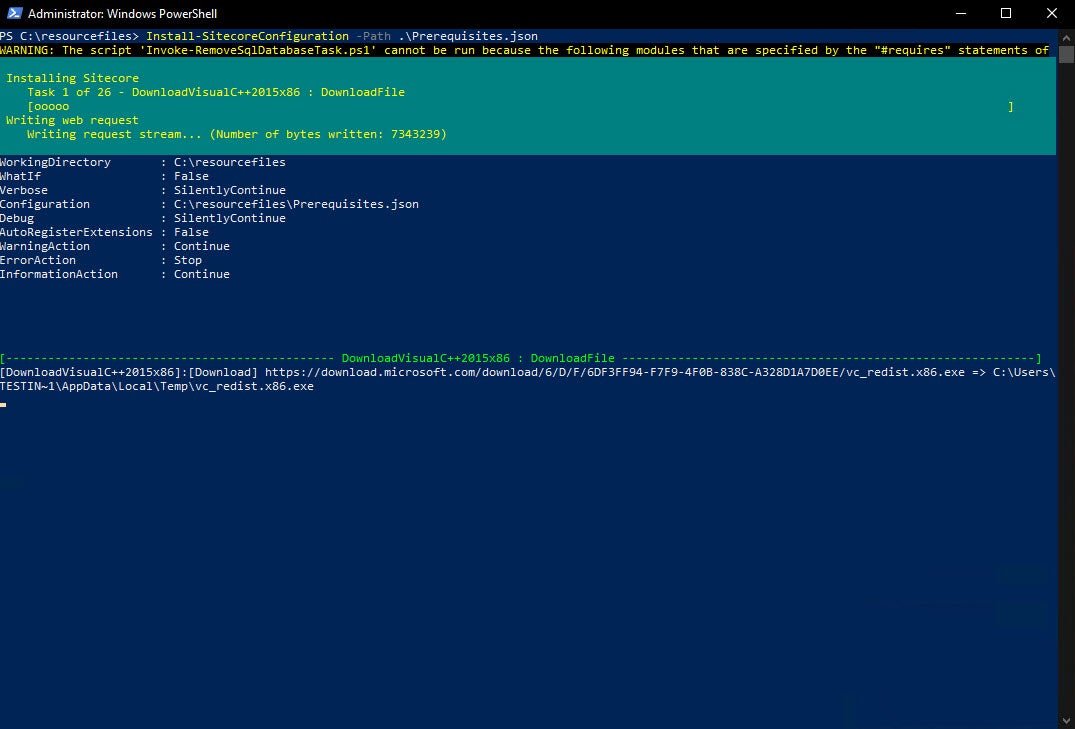
The prerequisites should be complete in a few minutes. I did not receive any errors during this step.

16. Copy your valid Sitecore license file into the c:\resourcefiles folder.
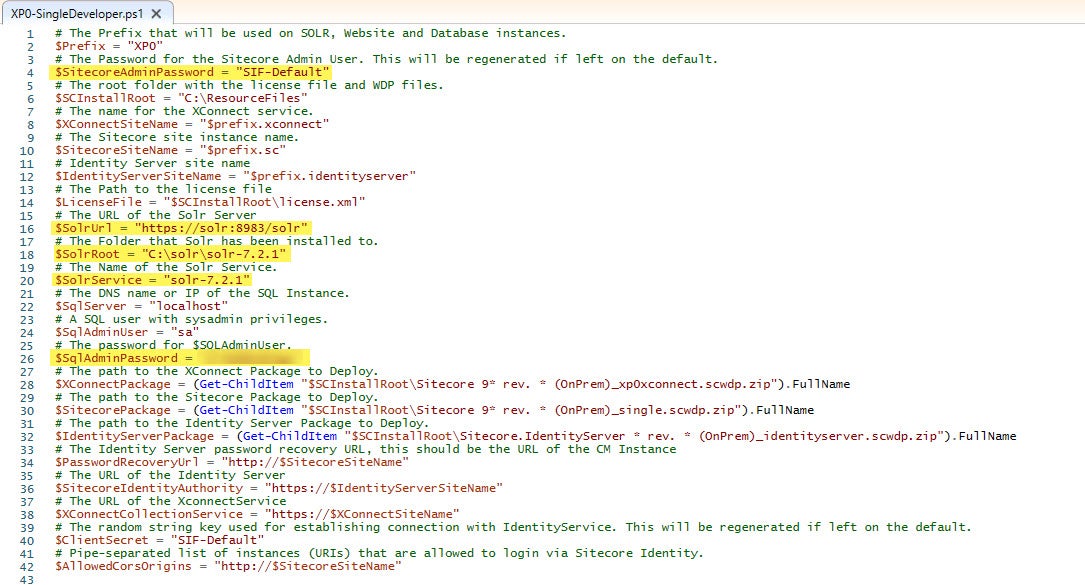
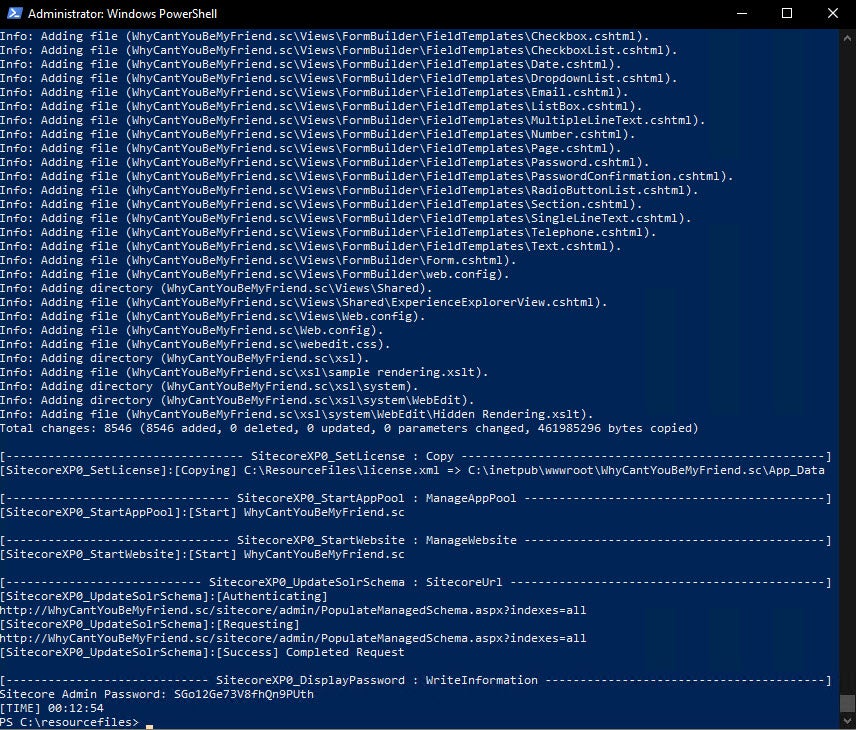
17. Edit the XP0-SingleDeveloper.ps1 file in the c:\resourcefiles folder with your environment-specific values. Note that I left the $SitecoreAdminPassword field as SIF-Default, this will let the script know to generate a new password for each install. The generated password is displayed at the end of the installation script and also stored in the installation log file.
18. Run the Install script (XP0-SingleDeveloper.ps1) in the PowerShell window (Administrator mode): .\XP0-SingleDeveloper.ps1
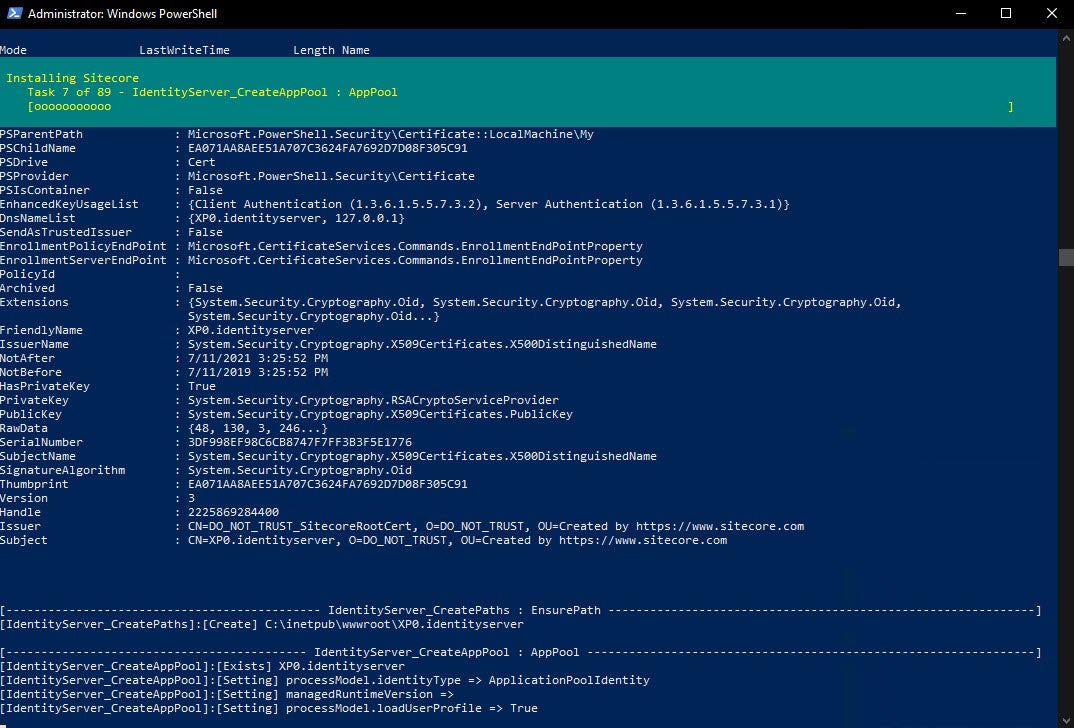

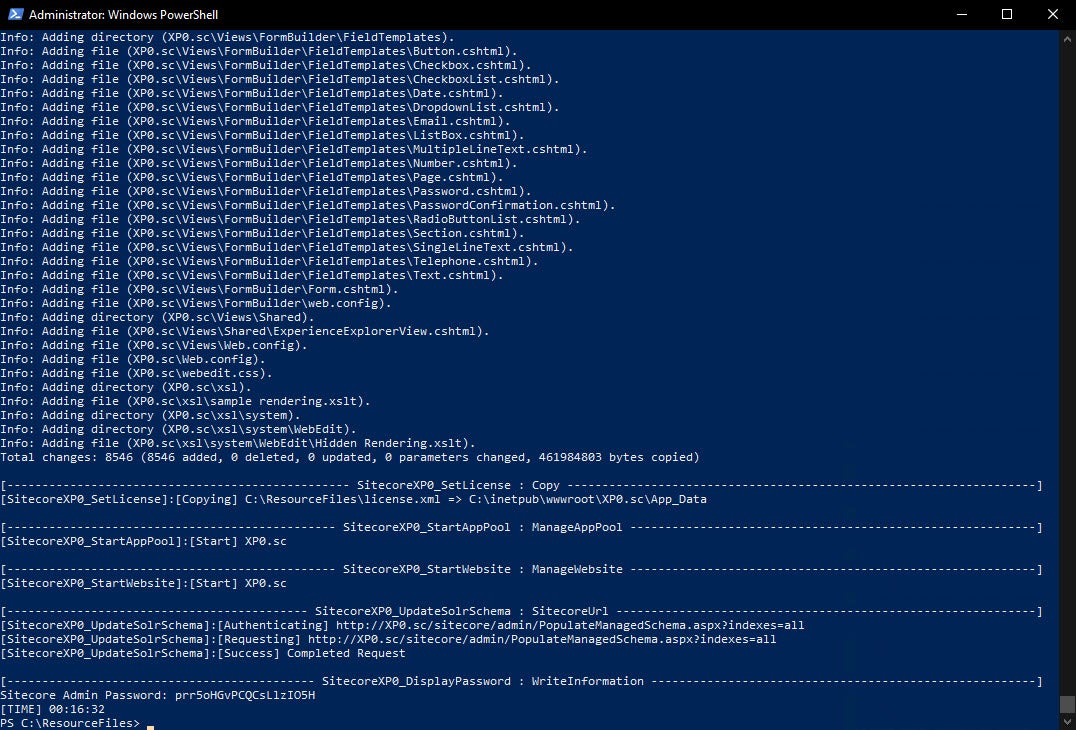
Note the password generated for this instance.
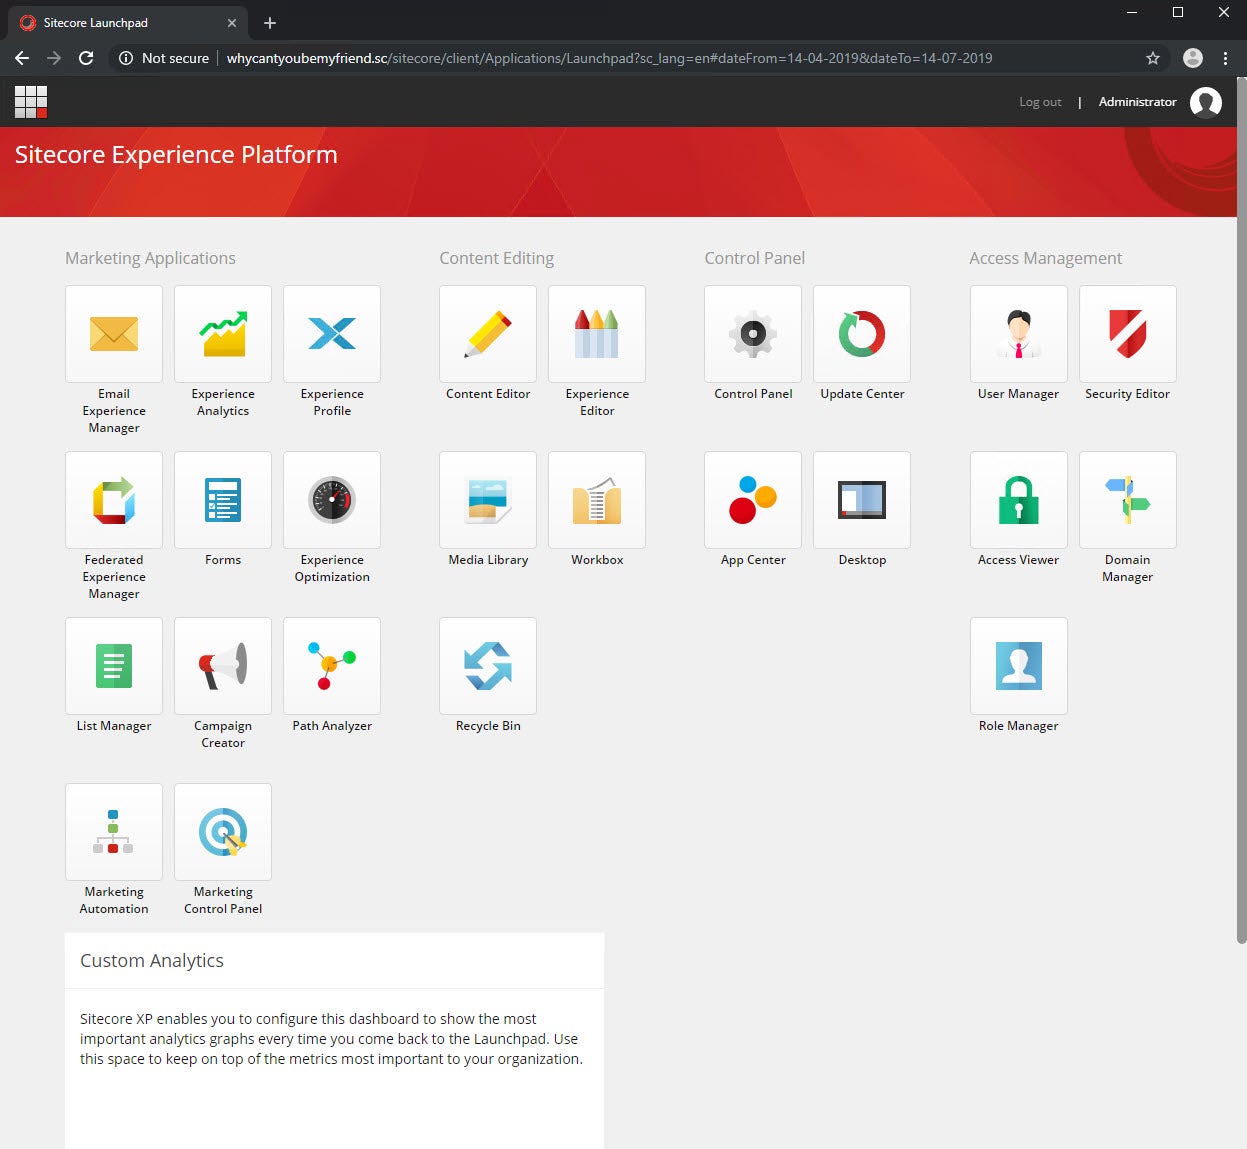
19. I had no errors during the installation. Once complete, log in to the Sitecore administration and verify the instance is running.

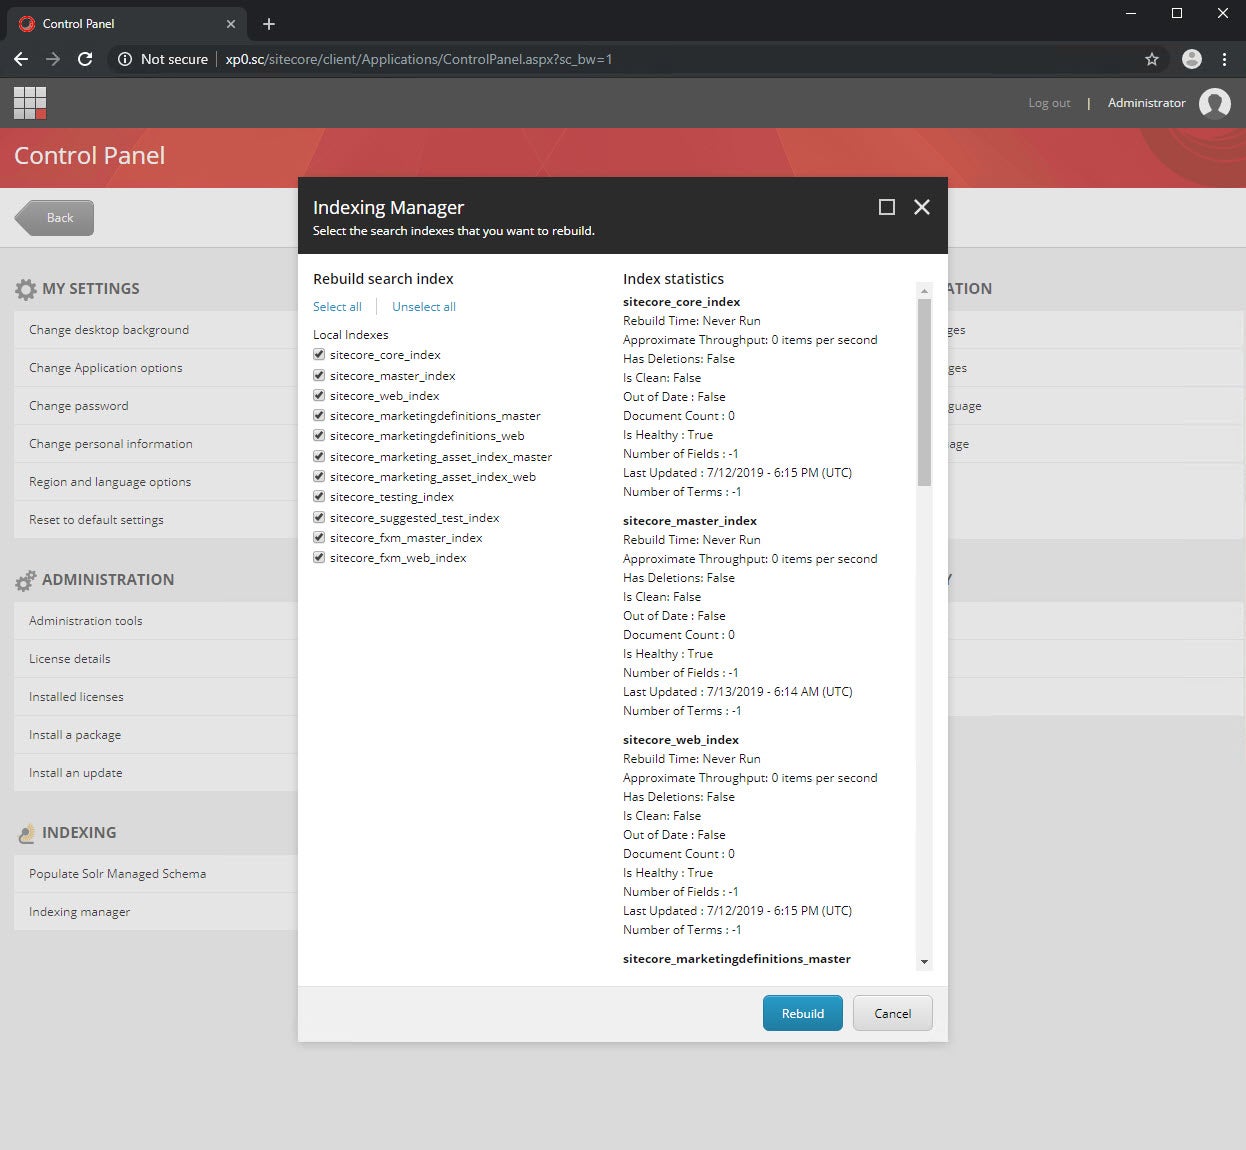
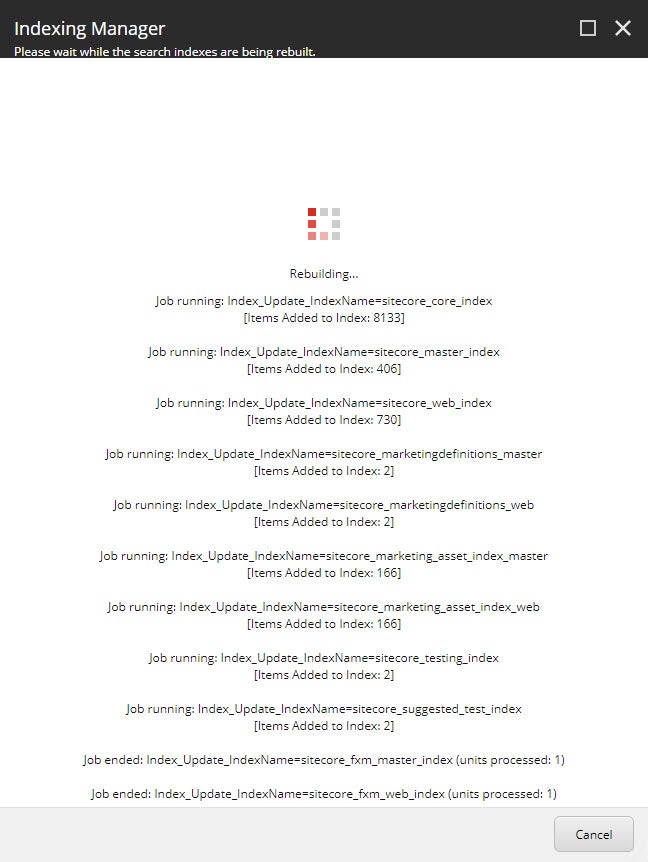
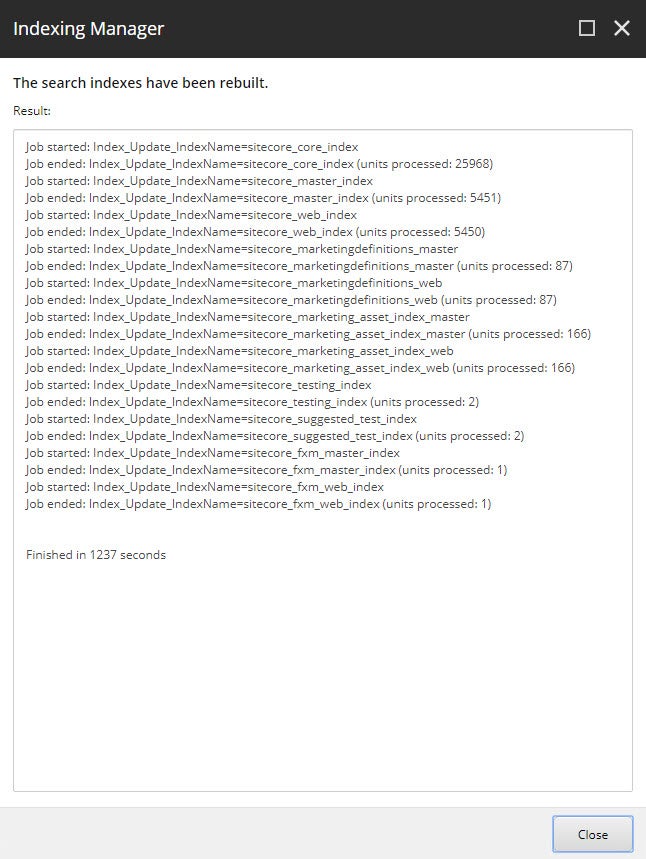
20. Re-Index all indexes using the Indexing Manager. For my install, I was seeing odd issues where the solr was running, the configuration was right but reindexing would not work. I had no errors while installing either. I had to run Populate Solr Managed Schema using the Control Panel first.
21. Rebuild Master and Core Link Databases using the Control Panel.

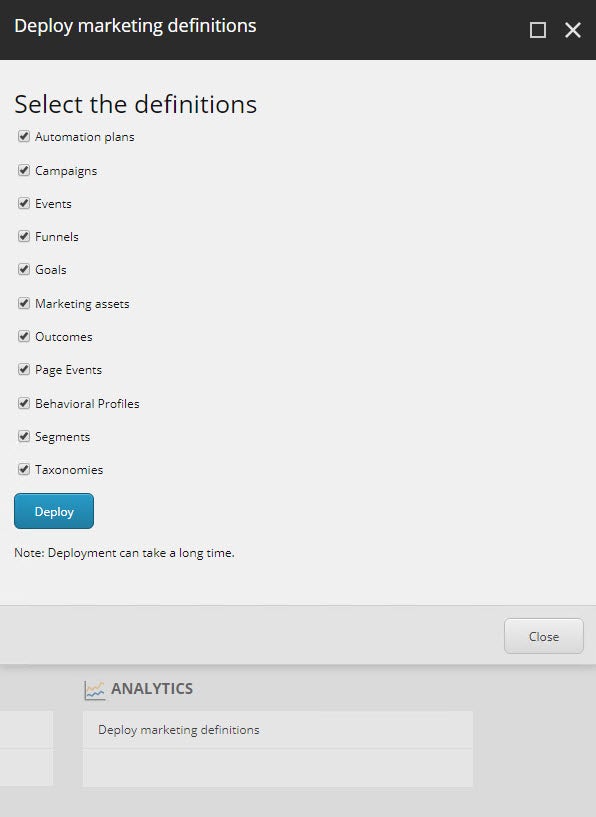
22. Finally, deploy the Marketing Definitions using the Control Panel.
23. To deploy another Sitecore 9.1.1 instance, modify the XP0-SingleDeveloper.ps1 and run it. This time it’s much faster as we already have all the prerequisites.
If you have any questions or concerns, please get in touch with me. (@akshaysura13 on Twitter or on Slack).

Akshay Sura
Akshay is a ten-time Sitecore MVP and a two-time Kontent.ai. In addition to his work as a solution architect, Akshay is also one of the founders of SUGCON North America 2015, SUGCON India 2018 & 2019, Unofficial Sitecore Training, and Sitecore Slack.
Akshay founded and continues to run the Sitecore Hackathon. As one of the founding partners of Konabos Consulting, Akshay will continue to work with clients, leading projects and mentoring their existing teams.
Share on social media